So you've installed the PostGrid plugin and now you're looking to set up your first PostGrid with MP Stacks? Great! Follow these simple steps:
- Log-in to your WordPress dashboard.
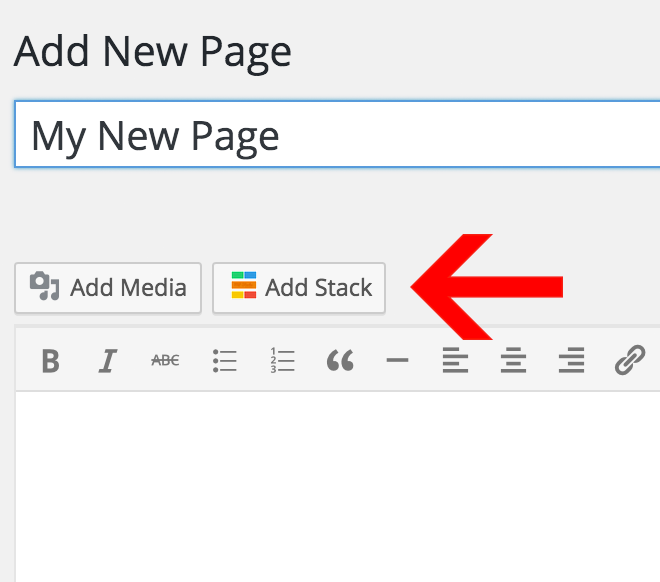
- Make a page by going to "Pages" > Add New".
- Click "Add Stack" above the text area.
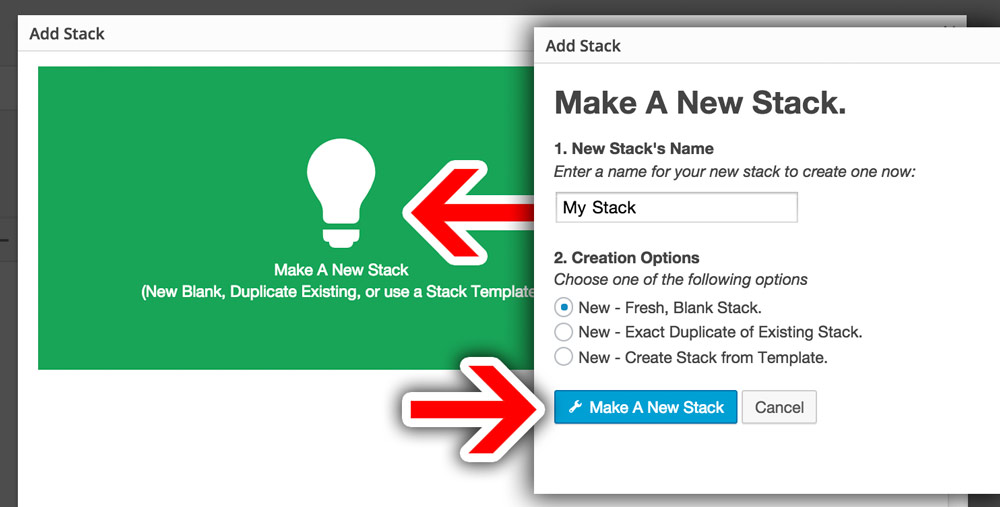
- In the Pop-Up, give your Stack a name and choose "Fresh, Blank Stack".
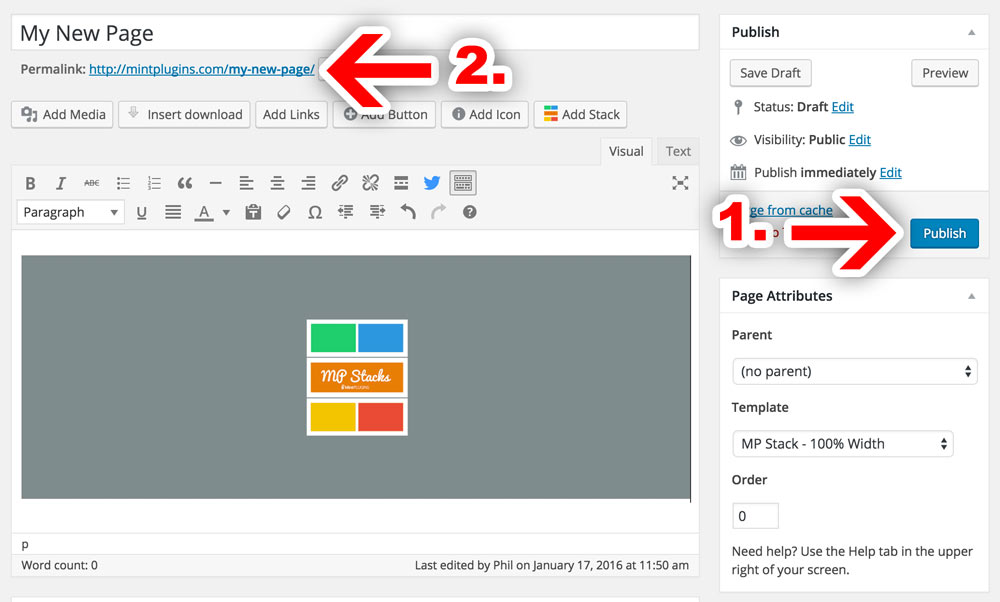
- Now that you've added a Stack, "Publish" the page. Then, view the page by clicking the permalink just below the Page Title.
- Click "Add a Brick to this Stack".

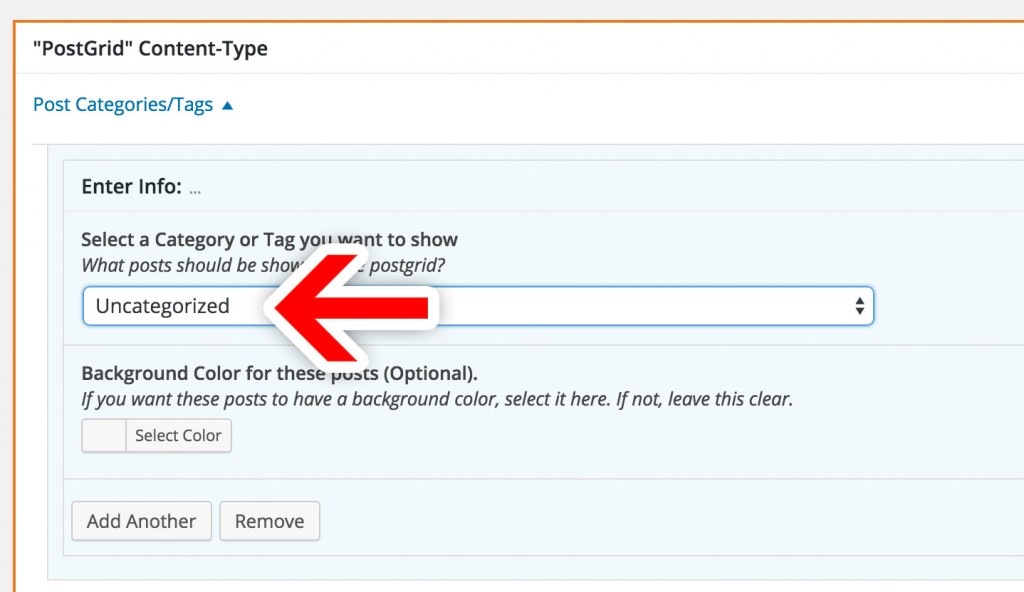
- In the "Brick Editor" which pops-up, under "Content-Type 1", choose "PostGrid".

- Under "Post Categories/Tags", choose the category of posts you wish to display.
- If you wish to use Isotope Filtering, under "Isotope and Masonry Settings", turn on "Isotope Filtering

That's the basic setup for the PostGrid. There are many more options available here as well. If you need any help, feel free to email us at support@mintplugins.com and we'll be glad to help you out!